How to Use Hair Sticks for Medium Hair
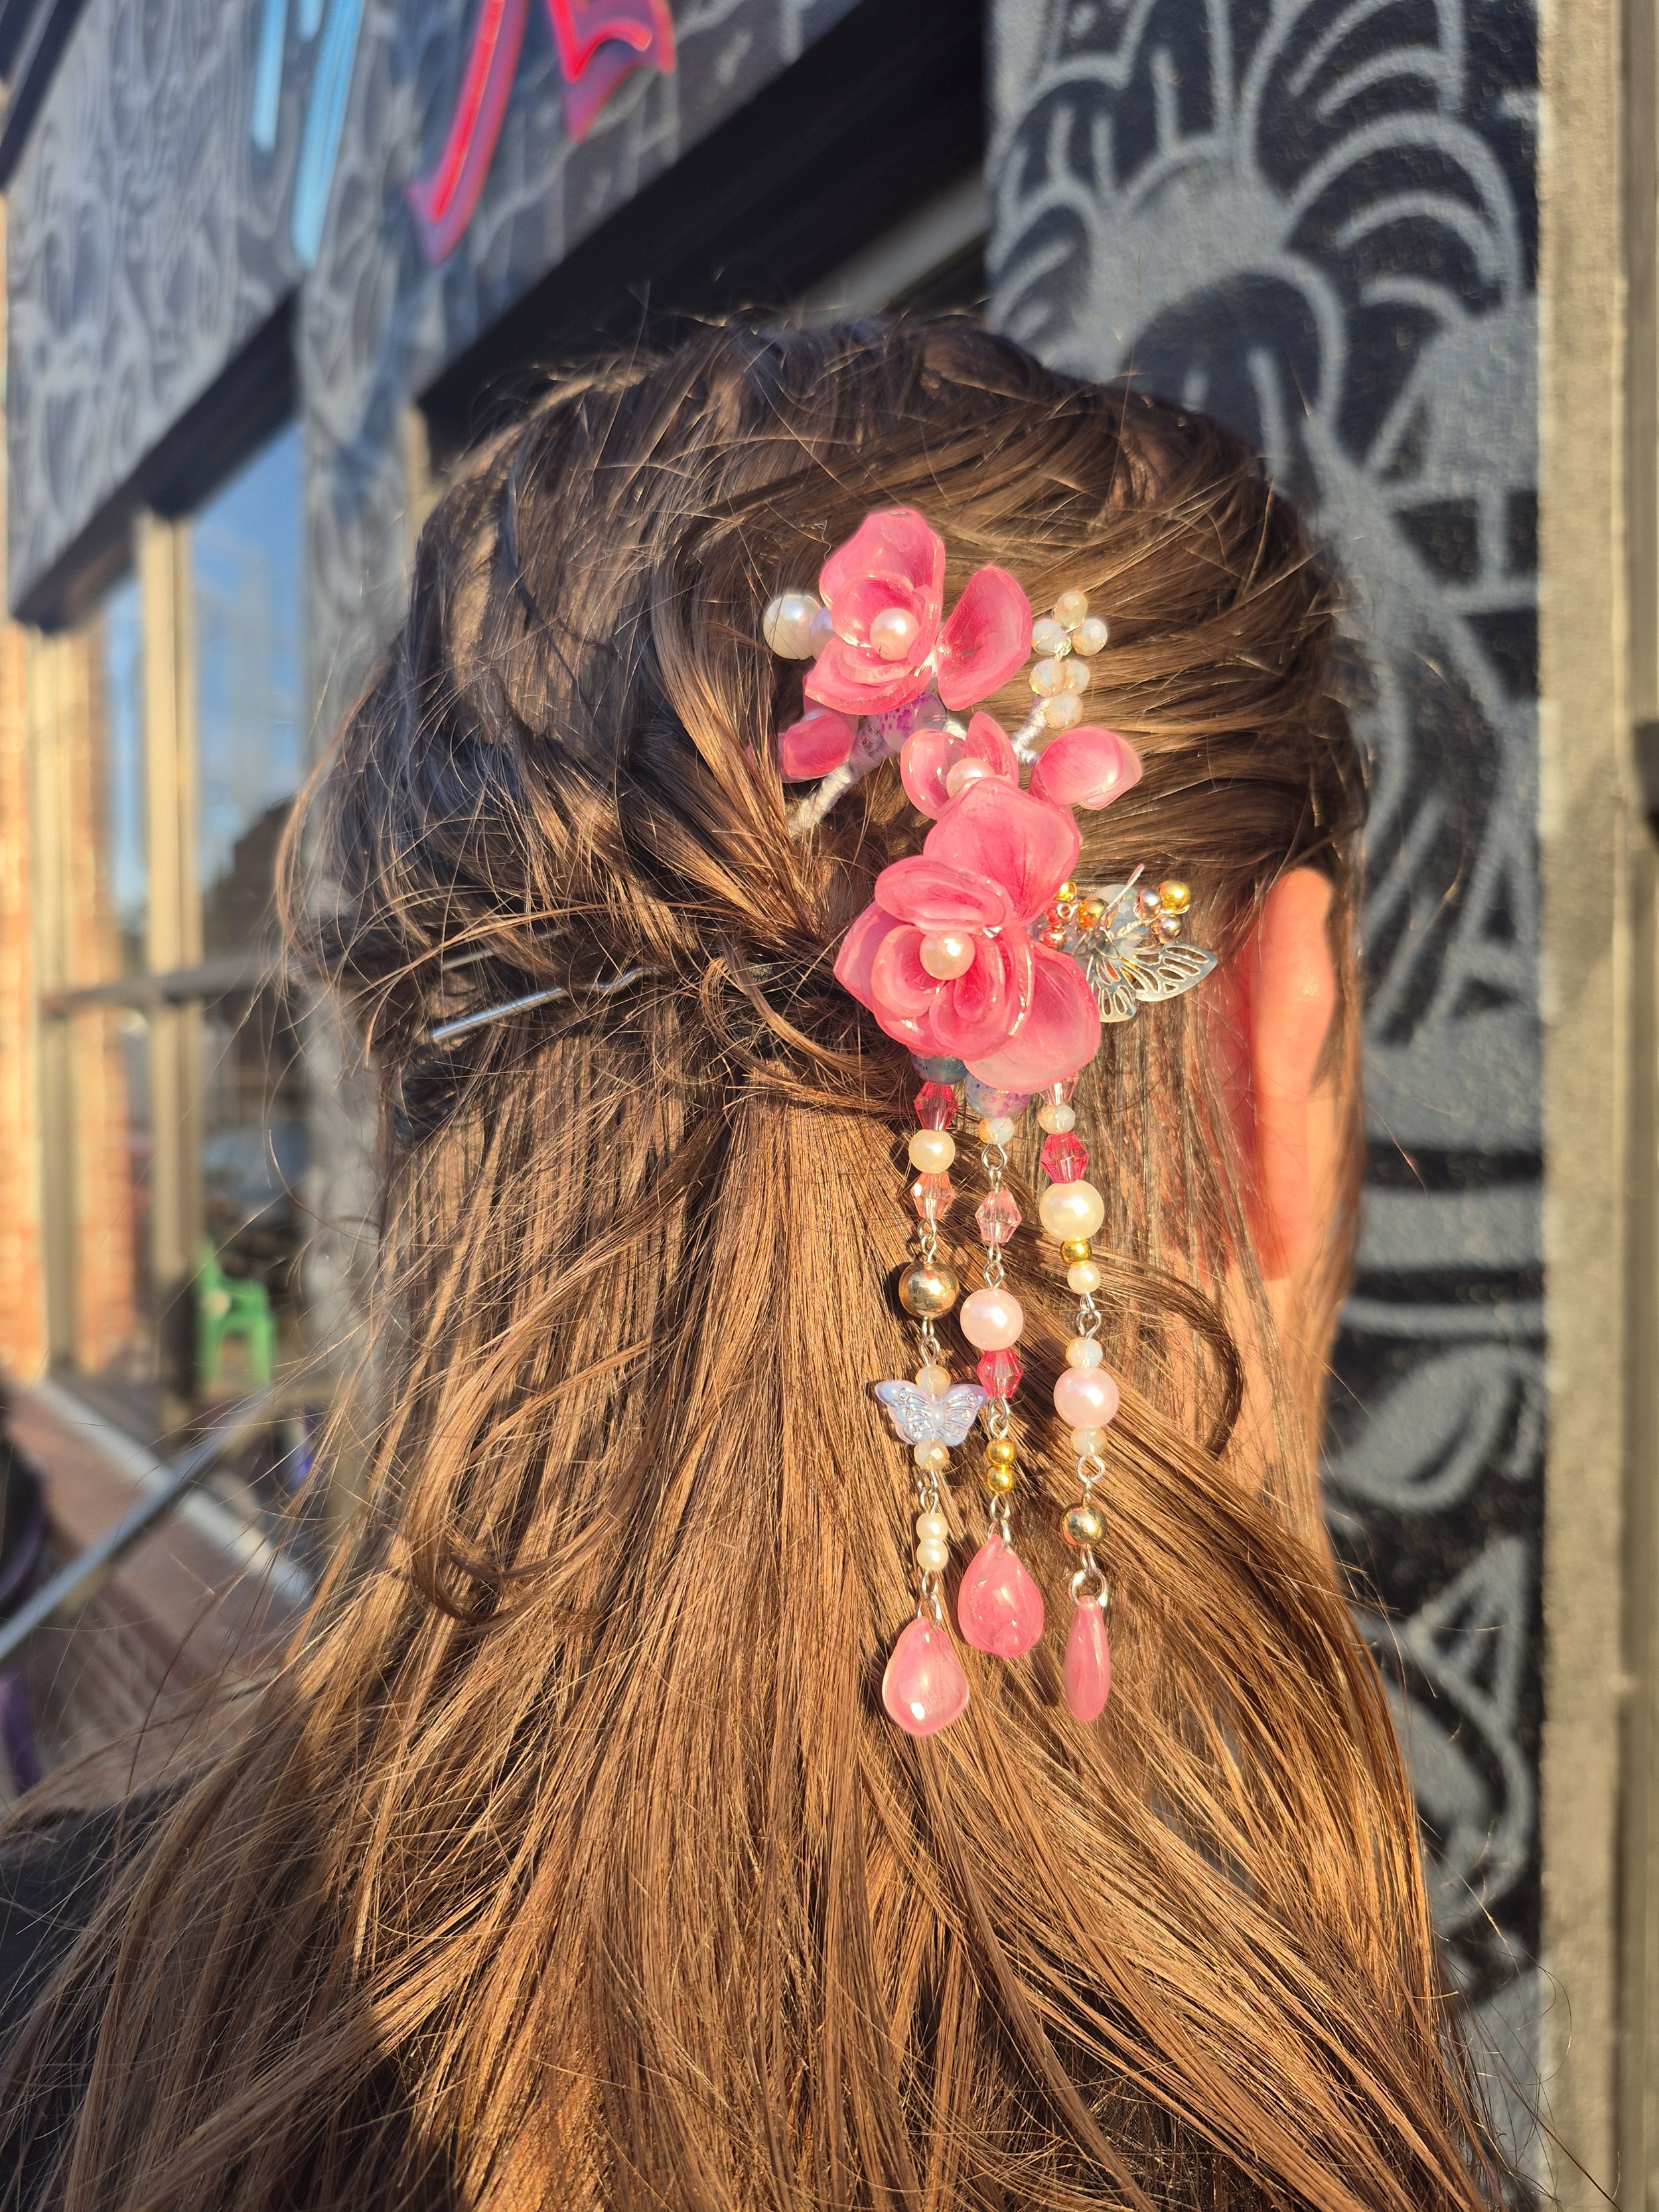
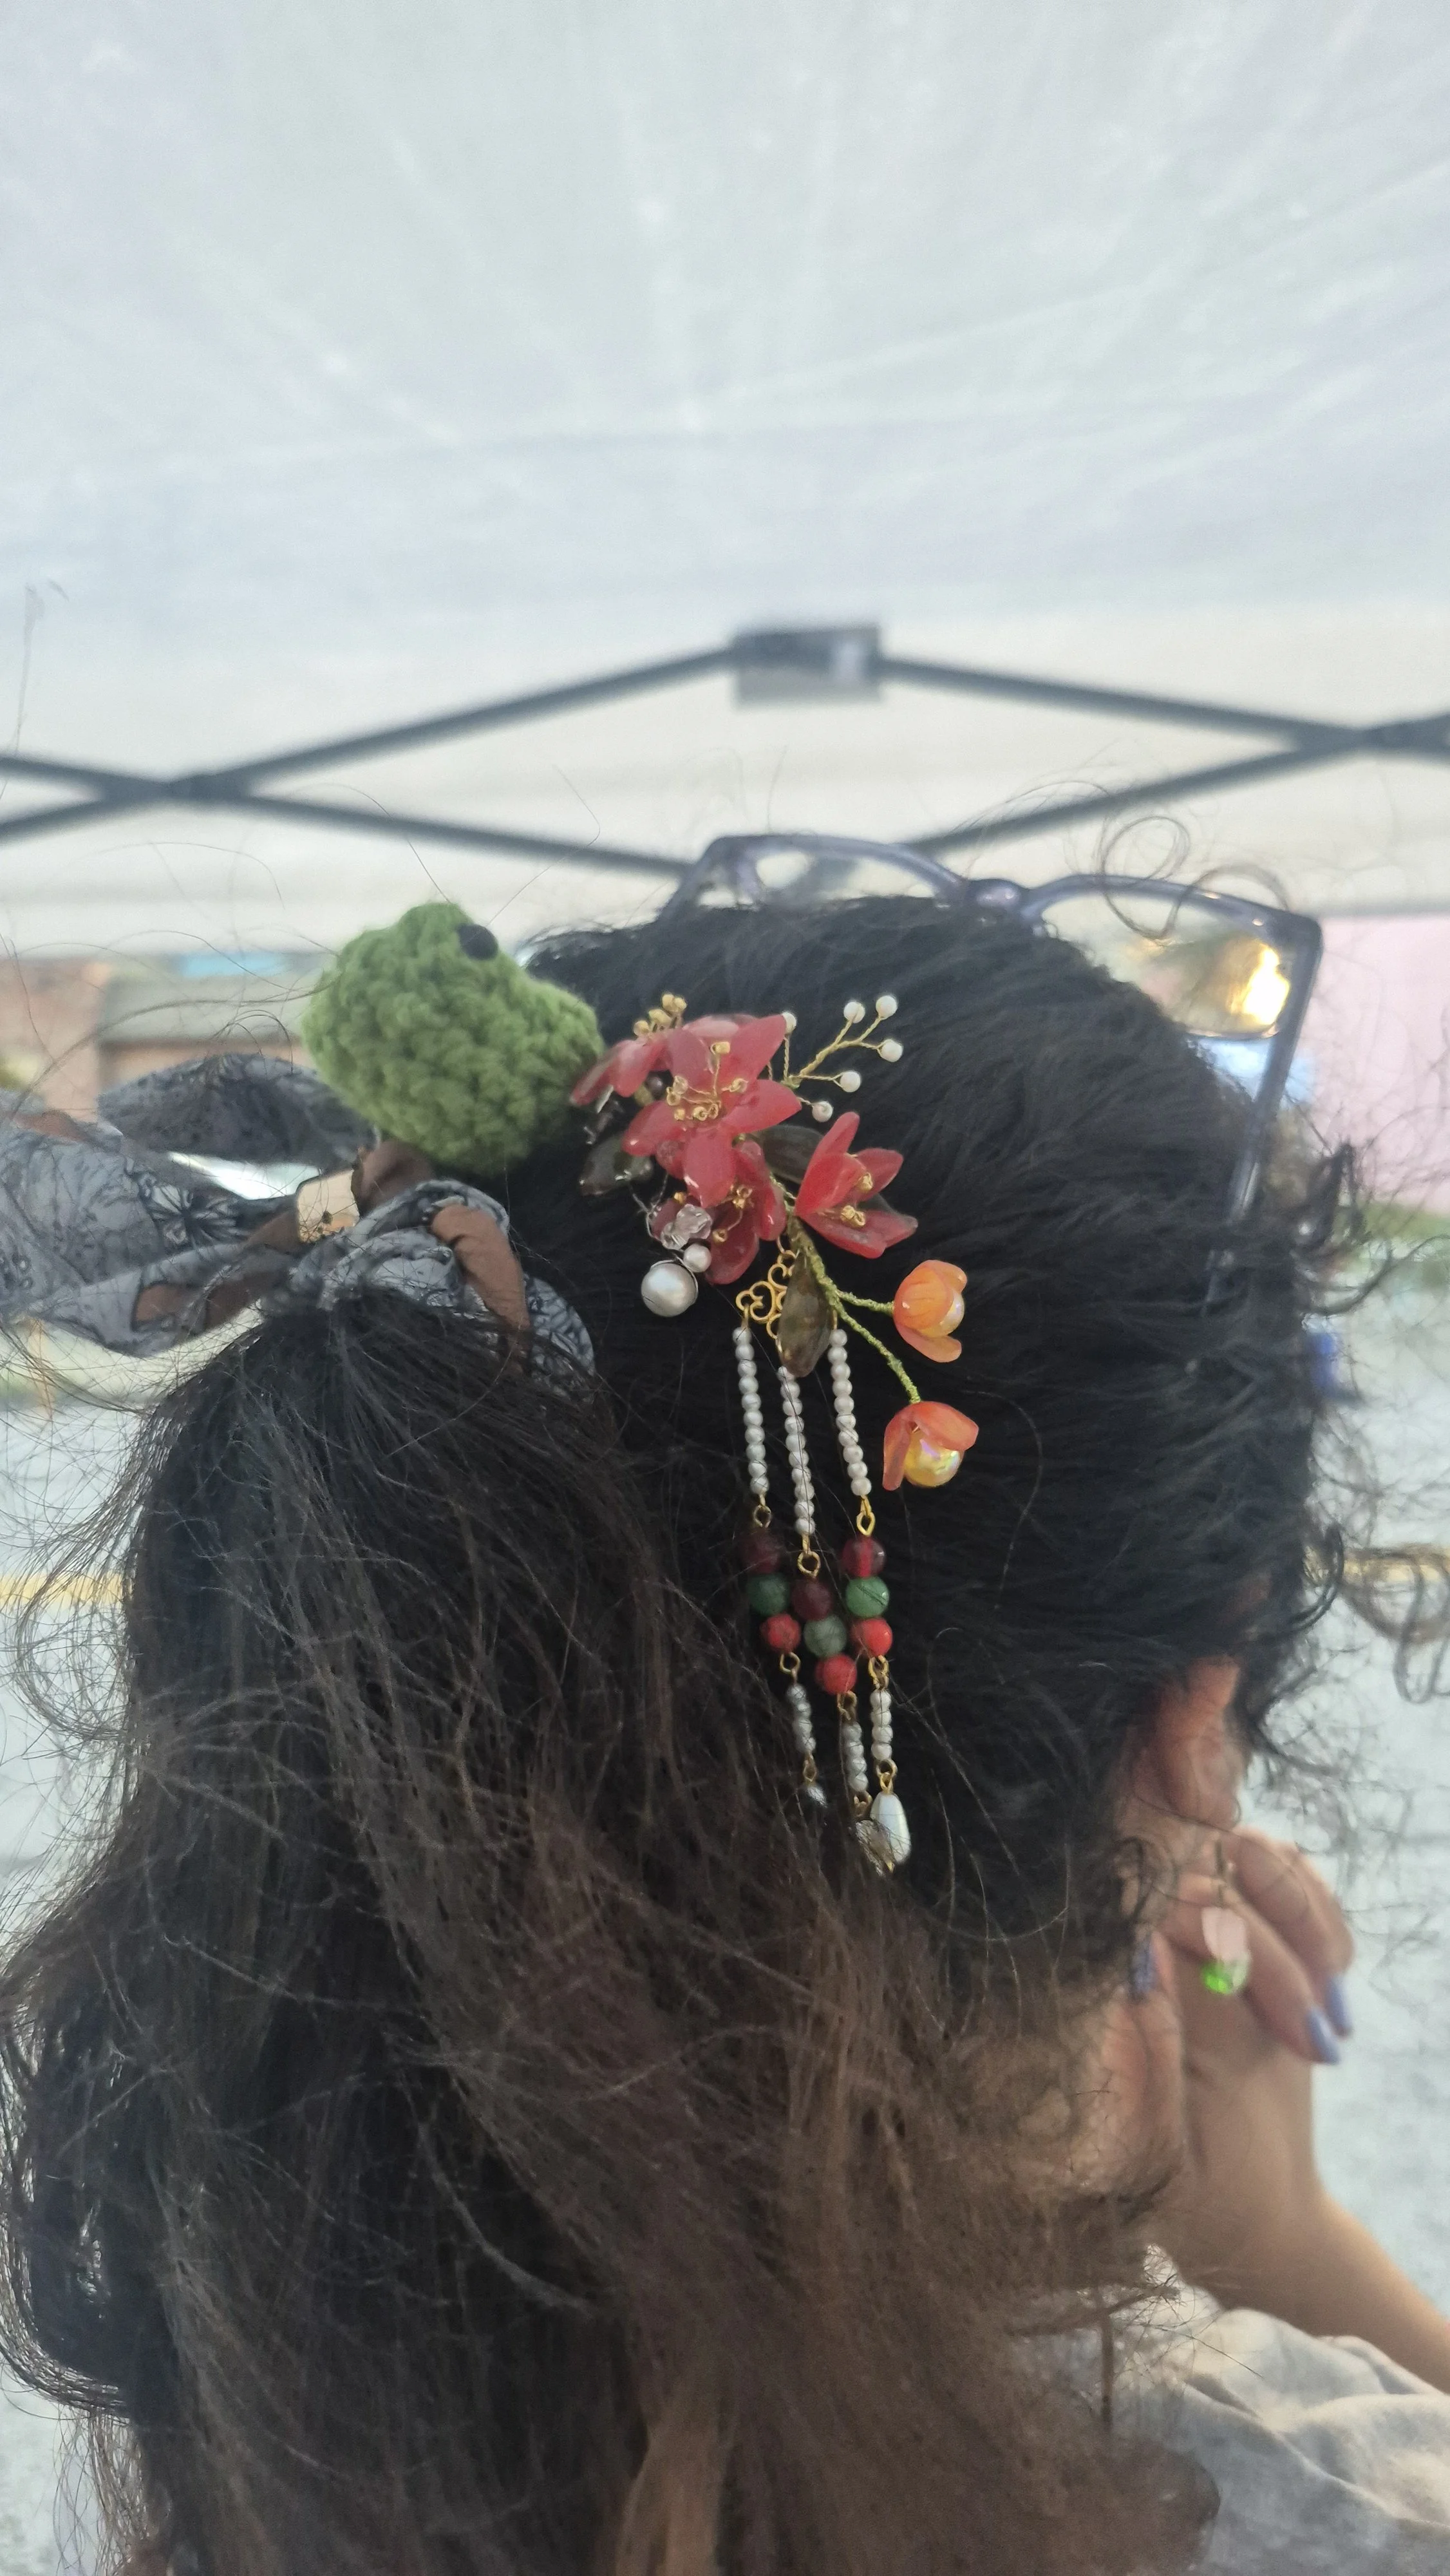
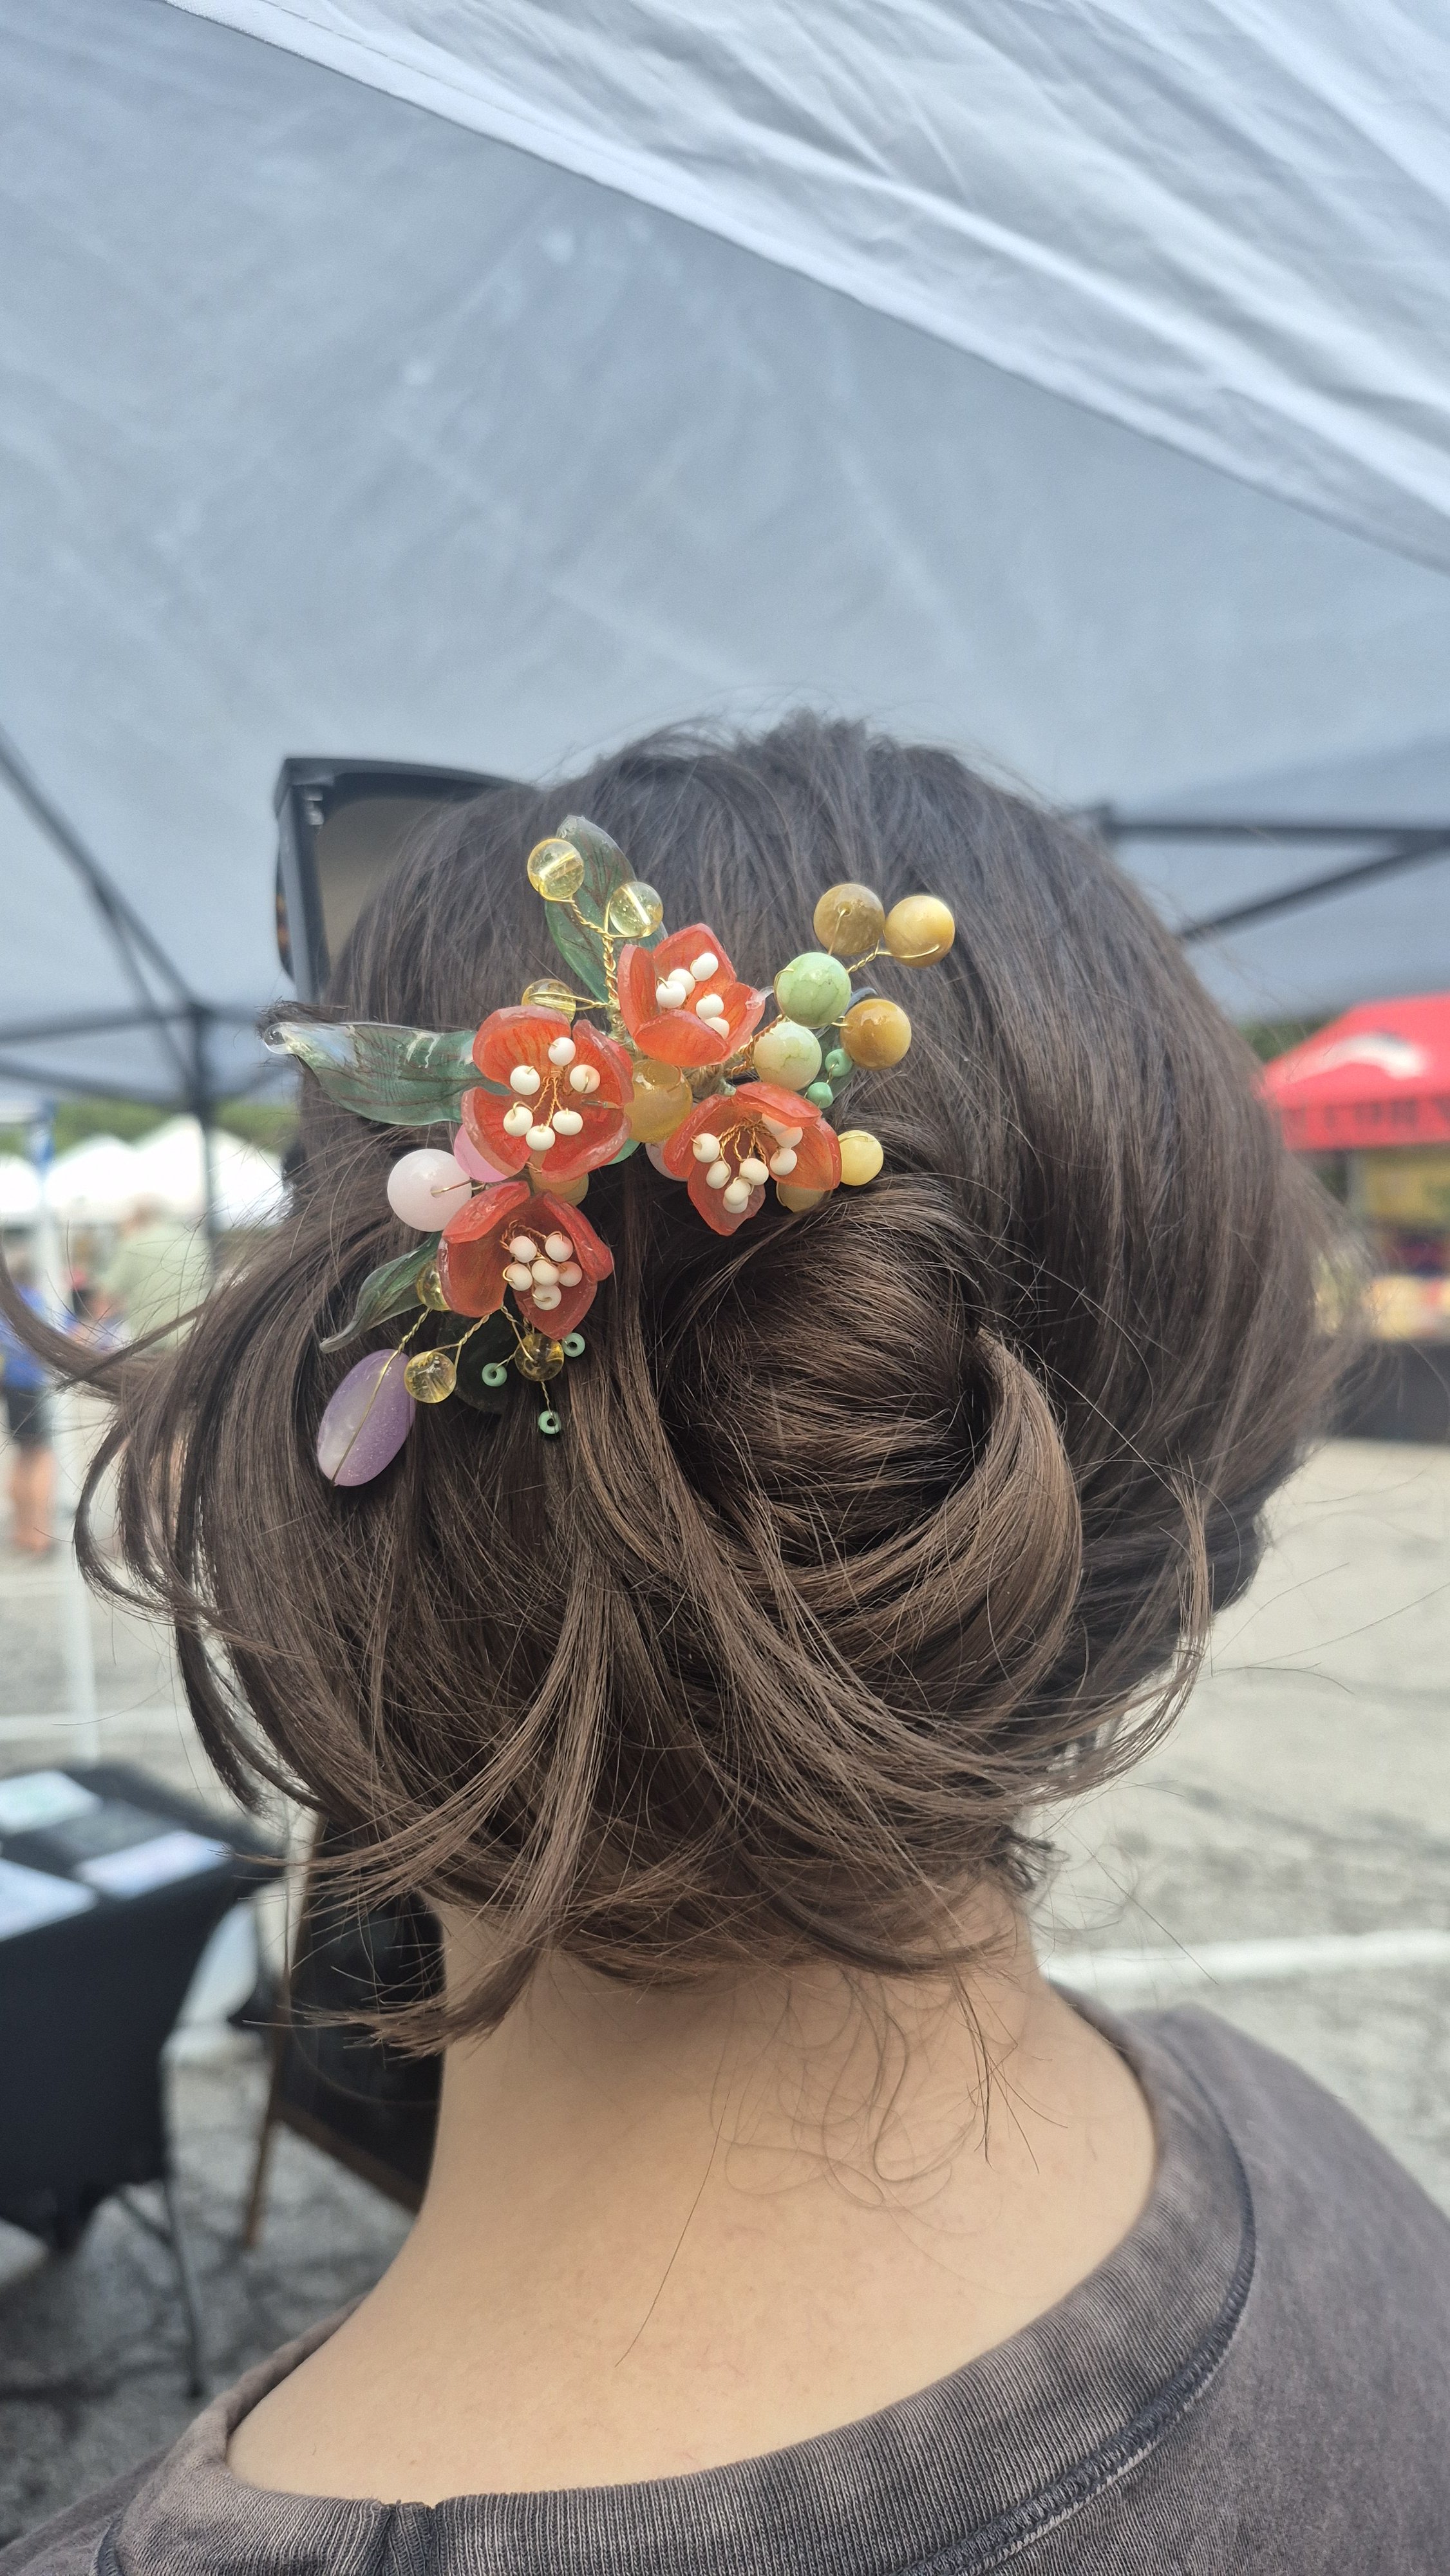
“I wish I have longer hair” is one of the most common phrase I hear at markets! But did you know our hand-crafted Chinese hair stick and hair combs are suitable for all sorts of hair? In this quick guide, I’ll introduce you the basic ways of choosing a hairstick based on your hair length, and some hacks on wearing a hair stick with medium hair.
Tips on Choosing Hairsticks for Medium Hair
Pick the right type of “hair stick” based on not only your hair length, but also volume and texture
Start with simple up-dos and gradually evolve into more complex hair styles
Always separate your hair into left/right, or top/bottom sections for more depth when wearing a hair stick with medium hair
If one large stick won’t work with your type of hair, try multiple small ones with a centerpiece
What type of hair stick should I wear for medium hair?
What is medium hair? In this guide, we’re using the generic term medium hair for anyone whose hair is shoulder length to mid-back length (which is also referred to medium-long hair in some instances if you want to just search for that section!)
When choosing suitable hair sticks for your hair, pay attention to the following:
Length: how long is your hair when you let it down completely?
Curliness: Do you have curly, wavy, or straight hair? Do you often curl your hair?
Texture: Is your hair rough and heavily-textured, or light and silky?
Volume: Do you have a lot of hair?
Color: Your hair color determines what palette looks the best on you.
It is also important to remember that “hairsticks” is often a generic term used to cover several different types of traditional Chinese hair accessories, including straight sticks, straight U sticks, wavy U sticks, combs, and small U-pins.
Different type of hair sticks for medium hair – compared
The best type of hair sticks for medium hair include straight U sticks, wavy U sticks, small combs, and small U-pins (sets). Below is a table comparing the pros and cons of each style and why they might suit you the best.
Best Types of Hair Sticks for Medium Hair
| Type | Best For | PROS | CONS |
|---|---|---|---|
| Straight U Sticks | Shoulder to waist hair with some waviness | Simple insertion and clean, elegant look; Usually comes in a longer length than wavy pins |
May slight out if your hair is on the light, silky side; Trickier to hold in place |
| Wavy U Sticks | Medium Hair in general | Wavy center creates a stronger hold; Works great with lighter hair; |
May tangle with rougher hair; |
| Full Combs | Medium hair with richer volume or heavier texture | Amazing as statement pieces; Holds enough hair to be used independently |
May be too heavy for some medium hair to stay fixed |
| Half Combs | Medium hair in general | More design flexibility; Can be used independently or as combo; |
Might not hold as strongly for silky, light hair. |
| Small U-pins | Decorative, or to pin in loose hair | Allows more design freedom with mix & match | Harder to use as-is to hold hair in; Additional styling might be required first |
4 hair stick hair styles for medium hair
Here comes your favorite part! Hair style guides! I found most of these videos on Pinterest. For those of you who don’t want to watch the videos, I’ve added step-by-step guides for using hair stick in medium hair to the best of my ability. (But really, watch the videos, it’s way easier)
Basic 8-Knot Pin-Up
Difficulty: ★☆☆☆☆
Length: Below shoulder or longer
This is one of the most basics to wear a hair stick with medium hair. It creates a tight hold of your hair with a tight and neat bun. Combine with a simple hair stick for daily use or a statement piece to add some flare to a formal gathering.
Step-by-Step:
Pull all your hair together into a low ponytail with your non-dominant hand.
Hold the hairstick with your dominant hand (in my case, right hand)
Place hairstick on top of the low pony.
Push down and fold pony upward into a V shape with the hair stick as a central, horizontal axis.
Wrap pony around the hairstick downward, then twist hairstick clockwise (tip/undecorated end pointing up)
Continue to twist hairstick. Depending on your hair length, you can twist it to a 90 or 180 degree. This should create a small “pocket” in your hair.
Push the hairstick through the pocket. You should feel the strong pull on your scalp.
Adjust tension and position.
Reverse 8-Knot Pin-Up
Difficulty: ★★☆☆☆
Length: Below shoulder, above mid-waist
If you like the 8-shaped style but not the tightness of the basic way, the reverse 8-knot creates a slightly more fluid and flexible look without losing the tight hold that makes the 8-knot style a crowd favorite. This one is, however, a little more complicated and might take some practice.
Step-by-Step:
Pull all your hair together into a tall ponytail above the centerline of the back of your head with one hand. Hold the hand above in an OK-sign shape and the hair should go through the hole formed by your thumb and index finger.
Put your other hand under the pony tail with the hair in between thumb and index finger.
Bring hair down so now you’re holding it from underneath with your other hand.
Pull your hair toward one side without letting to of the first hand.
Twist it outward into an 8-shape. Use your index, middle, and ring finger as guide. Be sure to hold the tailend with your first hand so it doesn’t come loose.
Move the guide hand up until it rests on top of the bun. At this point, your hair should wrap around your hand and be held again between the loop formed by your thumb and the other fingers.
Following the twist, wrap the tail around the bun and add it to your opposite hand’s hold.
With both hands, open your bun up by the loop so it is a flat 8-shape.
Push the hairstick through horizontally, following up-down-up so that the edges of your 8-shape are held under the hairstick and the center of the loop is above the hairstick.
Double-layered Princess Messy Bun
Difficulty: ★★★☆☆
Length: Below shoulder, above mid-waist
If you like the 8-shaped style but not the tightness of the basic way, the reverse 8-knot creates a slightly more fluid and flexible look without losing the tight hold that makes the 8-knot style a crowd favorite. This one is, however, a little more complicated and might take some practice.
Step-by-Step:
Separate your hair into top and bottom layer.
With an elastic, make a normal pony tail with the top layer.
Twist the pony tail upward and pull it through the center right above the elastic to create a fake braid.
Part the bottom hair layer into two halves.
Hold the left half, lift it up and pull it through the center opening where you just pulled the pony tail through.
Repeat with the right half.
Make another loose pony tail with all the hair through the loop at the bottom 1/3.
Roll it upward until it meets the first elastic.
Use simple bobby pins (color of your hair for an invisible effect) to hold the roll firmly in place.
Slightly loosen the hair above the new bun for more volume (optional).
Add your preferred hair stick, U-pins, or combs to finish styling.
Double-Pony Flat Bun
Difficulty: ★★★☆☆
Length: Shoulder length (medium-short hair)
This is another hairstick updo friendly to medium-short hairs. It is a little easier than the princess bun and creates a nice, flat, fanned-out bun. Since the bun is so under-promising, it really highlights the hairstick as a statement piece. Perfect for those of you who love the extravagant designs!
Step-by-Step:
Separate your hair into top and bottom layer.
With an elastic, make a normal pony tail with the top layer.
Twist the pony tail upward and pull it through the center right above the elastic to create a fake braid.
Grab the rest of the hair (pony tail and bottomlayer) and make another pony tail with elastic at the base of your hairline.
Pull the new pony tail up. The second elastic you just put on should be exposed.
Grab the bottom of the second elastic, pull the second upward to the middle of the second pony tail (or however much hair you want for your bun).
You should now have a slightly loose and puffy portion of the hair between the elastic and the base of your hairline.
Fold the top portion of the ponytail (above the elastic) into the loop where you pulled the first pony tail through. You can roll it in a little further for a tighter hold.
Add your preferred hair stick, U-pins, or combs to finish styling. Highly recommend using a full comb as a statement piece!
